


Solar garden lights are an excellent way to illuminate your outdoor space while saving energy and reducing electricity bills. Whether you want to enhance the ambiance of your garden, improve security, or simply make your pathways more visible at night, solar garden lights are a smart and sustainable choice. In this guide, we will walk you through how to install solar garden lights like a pro, ensuring maximum efficiency and longevity.
How to Install Solar Garden Lights?
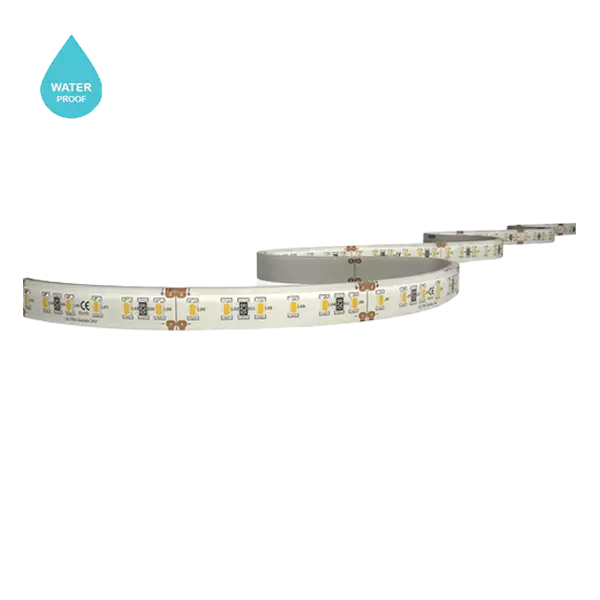
Before diving into the installation process, it’s important to understand why solar garden lights are becoming increasingly popular. Unlike traditional wired lighting, solar-powered lights harness energy from the sun, eliminating the need for electrical wiring. They are eco-friendly, cost-effective, and require minimal maintenance. Additionally, modern LED garden lights provide bright and long-lasting illumination, making them ideal for outdoor settings.
At SparkyShop, we offer a premium selection of high-quality outdoor garden lights, designed to withstand various weather conditions while providing stunning illumination. Let’s get started with the installation process.
Choosing the Right Solar Garden Lights
Before purchasing your lights, consider the type of garden lighting that best suits your needs. There are different styles available, including pathway lights, spotlights, and decorative lanterns.
- Pathway lights: Ideal for illuminating walkways and driveways.
- Spotlights: Best for highlighting garden features, trees, or statues.
- Decorative lights: Perfect for creating a cozy and inviting ambiance in your outdoor space.
For high-quality and long-lasting solar garden lights, check out SparkyShop’s extensive range of LED lights, designed to enhance the beauty and functionality of your garden.
Selecting the Best Location
The placement of your outdoor garden lights is very important for the way they work. Because the lights are running on solar power, they must be set in a place that gets the most sunlight during the day. By no means keep them in the shadow, under the trees, or near the buildings that are too high to let the sun through them.
Suppose you want to set multiple garden lights. Do consider the layout before you install them to guarantee the equal enlightenment of your garden. The correct positioning gives rise to the beauty and the lights that work properly.
Preparing the Ground for Installation
After you choose the location, the next step is to get the ground ready. The majority of solar garden lights are equipped with stakes that can be simply put into the soil. However, if the ground is very tough, you might have to use a garden trowel to loosen it or pour water on it before you insert the light.
In case the driveway is paved it is going to be possible for you to make use of brackets or bases containing the adhesive to fix the lights. For example, the LED garden lights that are utilized for the pathway usually come with the substantial base that can definitely make the product stable on different terrains.
Assembling the Solar Garden Lights
Firstly, prepare the ground and then follow the manufacturer’s instructions to set up your lights. Usually, this procedure will require you to fix the stake to the lamp unit and mount the solar panel firmly. In case your garden lighting has motion sensors or adjustable panels, arrange them as required for the maximum output.
At SparkyShop, our range of solar garden lights comes with simple-to-understand assembly notices that allow you to install them without any inconvenience.
Installing the Garden Lights
Once you have put the parts of the solar garden lights together, the next thing you need to do is fixing them where you want. It’s simple – only plug the sticks into the earth, and that’s all about it. In case you want them to be mounted on concrete surfaces, use screws or adhesive mounts to make sure they stay there.
See to it that the solar panels are on top and capturing the most sunlight. The correct placement of solar panels allows for more efficient battery charging and brighter illumination during the night.
Testing the Garden Lights
When you have installed the lights, give them 6-8 hours to load in the sun before switching them on. When they’re charged, they will switch on automatically at sunset and stay on all night. If any light fails to switch on, then check the battery’s connection the most probable cause is a lack of sunlight.
For best results, regularly clean the solar panels to remove dust and debris that may block sunlight absorption. This helps maintain the efficiency of your outdoor garden lights over time.
Key Considerations Before Solar Garden Light Installation
Before you start unboxing your new lights, careful planning is crucial for achieving the desired aesthetic and functionality. Here are some key considerations when thinking about how to install solar garden lights:
- Assess Sunlight Exposure: Solar garden lights rely on direct sunlight to charge their batteries. Observe your garden throughout the day to identify areas that receive ample sunlight (at least 6-8 hours). Shady spots will hinder the performance of your lights.
- Determine Lighting Needs and Placement: Decide what areas you want to illuminate. Do you need pathway lighting for safety, accent lighting to highlight plants or features, or broader area lighting for entertaining? Visualize how the light will fall and consider the spread and intensity of your chosen solar garden lights.
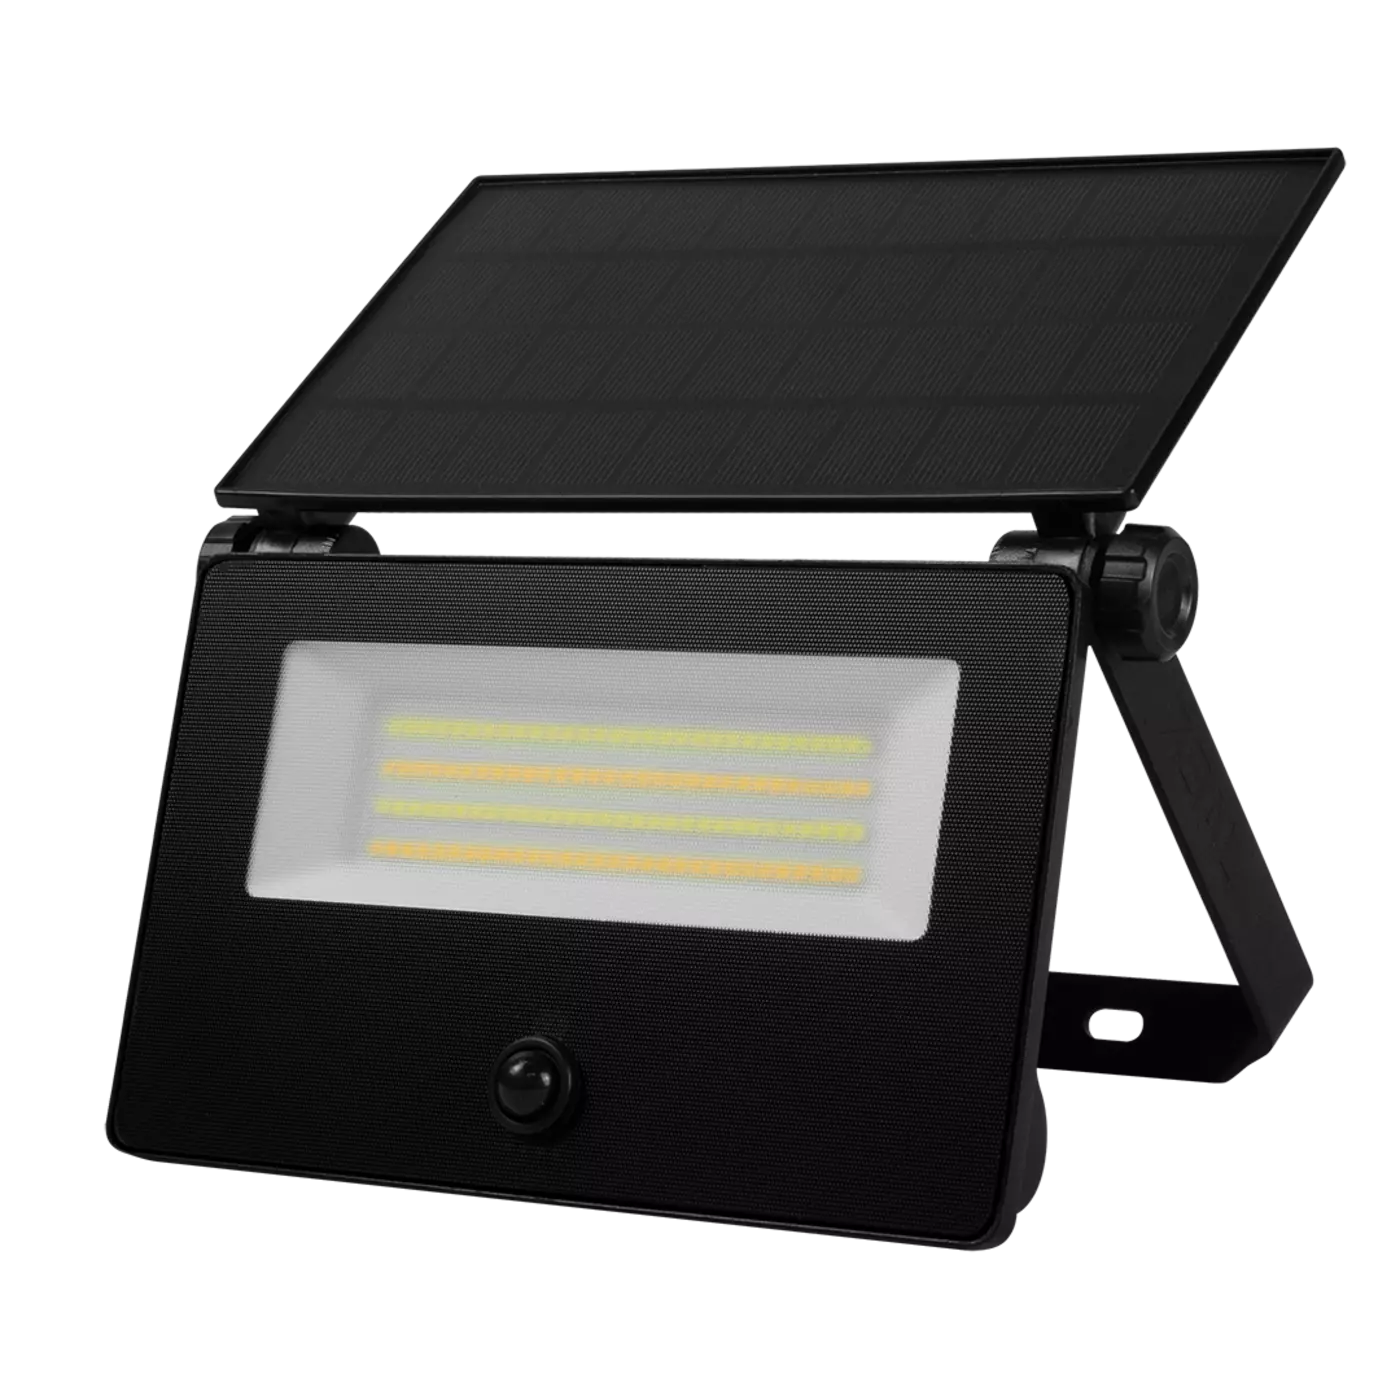
- Choose the Right Type of Solar Garden Light: The market offers a wide array of solar garden lights, including stakes, spotlights, path lights, string lights, and wall-mounted options. Select the types that best suit your specific needs and the aesthetic you desire. Consider factors like brightness (lumens), battery capacity, and weather resistance.
- Gather Your Tools (Minimal Required): The beauty of solar garden lights is their simple installation. Typically, you’ll only need a few basic tools: gloves (to protect your hands), a small trowel or spade (for stake lights), and possibly a measuring tape (for spacing).
- Consider Soil Conditions: If you’re installing stake lights, check the soil condition. Hard, rocky soil might require a bit more effort.
Maintaining Your Solar Garden Lights
To ensure the longevity of your solar garden lights, follow these maintenance tips:
- Clean the solar panels regularly with a damp cloth to remove dirt and debris.
- Check the batteries every few months and replace them if needed.
- Ensure proper positioning to maximize sunlight absorption.
- Protect your lights during extreme weather conditions by moving them indoors if necessary.
By following these simple maintenance practices, you can keep your garden lighting in top condition for years to come.
Conclusion
Adding solar garden lights is an uncomplicated but powerful method of giving a boost to your outdoor space. If you undertake the task following the given directions, you can not only make a professional installation, but you are also sure to have lighting that is efficient and at the same time, beautiful. Each step, starting from the choice of the light to the right placing and care, is very important and interdependent, and taking the wrong path, the expected result gets missed.
At SparkyShop, we provide top-quality outdoor garden lights that combine style, durability, and energy efficiency. Explore our collection today and transform your garden with stunning solar-powered illumination.